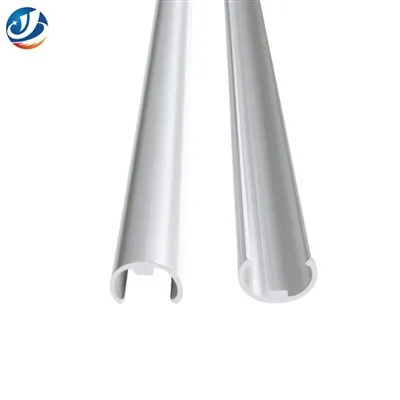
As a trusted supplier of Aluminium Angle Trim, I've witnessed firsthand the transformative power of this versatile product. Aluminium angle trim not only enhances the aesthetic appeal of various surfaces but also provides essential protection against wear and tear. In this blog post, I'll guide you through the step-by-step process of installing aluminium angle trim, ensuring a professional and long-lasting finish.
Understanding Aluminium Angle Trim
Before we dive into the installation process, let's take a moment to understand what aluminium angle trim is and its various applications. Aluminium angle trim is a durable and lightweight material typically used to protect and finish the edges of surfaces such as countertops, walls, floors, and furniture. It comes in a variety of sizes, shapes, and finishes to suit different design preferences and project requirements.
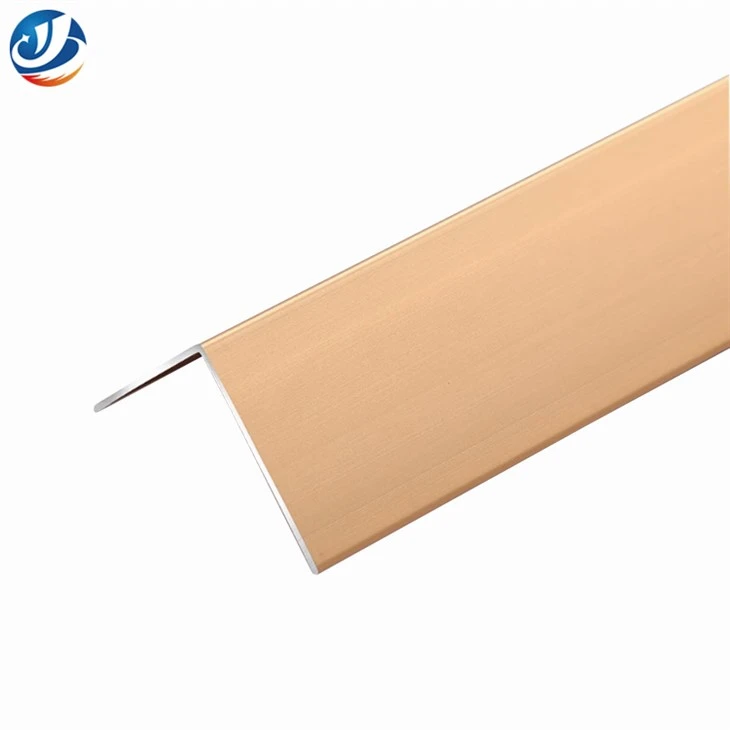

Some common types of aluminium angle trim include Aluminium Angle Extrusion, Aluminum Angle Edge Trim, and Aluminum Arc Extenar Conas Edge Strips. Each type has its own unique features and benefits, so it's important to choose the right one for your specific application.
Tools and Materials Needed
To install aluminium angle trim, you'll need the following tools and materials:
Tools
- Tape measure
- Utility knife
- Miter saw or hacksaw
- Screwdriver or drill
- Caulk gun
- Hammer
- Safety glasses
- Gloves
Materials
- Aluminium angle trim
- Screws or nails
- Adhesive caulk
- Primer (if required)
Step-by-Step Installation Guide
Step 1: Measure and Cut the Trim
The first step in installing aluminium angle trim is to measure the length of the edge where you'll be installing the trim. Use a tape measure to get an accurate measurement, and then add a few extra inches to account for any cutting errors or adjustments.
Once you have the measurement, use a miter saw or hacksaw to cut the aluminium angle trim to the desired length. Make sure to wear safety glasses and gloves to protect yourself from any sharp edges or debris.
Step 2: Prepare the Surface
Before installing the aluminium angle trim, it's important to prepare the surface where it will be installed. Clean the surface thoroughly to remove any dirt, dust, or debris, and make sure it's dry and smooth.
If the surface is porous or uneven, you may need to apply a primer to ensure proper adhesion. Follow the manufacturer's instructions for applying the primer, and allow it to dry completely before proceeding with the installation.
Step 3: Apply Adhesive Caulk
Next, apply a bead of adhesive caulk along the back of the aluminium angle trim. Make sure to apply the caulk evenly and generously, covering the entire length of the trim.
The adhesive caulk will help to secure the trim in place and prevent it from shifting or coming loose over time. It will also provide a waterproof seal, protecting the edge of the surface from moisture and damage.
Step 4: Install the Trim
Once you've applied the adhesive caulk, carefully position the aluminium angle trim along the edge of the surface. Press the trim firmly against the surface, making sure it's aligned properly and flush with the edge.
Use a screwdriver or drill to attach the trim to the surface using screws or nails. Make sure to space the screws or nails evenly along the length of the trim, and drive them in securely to ensure a tight fit.
Step 5: Seal the Joints
After installing the aluminium angle trim, use a caulk gun to apply a bead of caulk along the joints between the trim and the surface. This will help to seal the joints and prevent any moisture or dirt from getting in.
Make sure to smooth the caulk with a putty knife or your finger to create a clean and professional finish. Allow the caulk to dry completely before using the surface.
Step 6: Finishing Touches
Once the caulk has dried, you can add any finishing touches to the aluminium angle trim. You can use a file or sandpaper to smooth any rough edges or burrs, and then wipe the trim clean with a damp cloth to remove any dust or debris.
If desired, you can also apply a coat of paint or clear finish to the trim to match the color of the surface or to provide additional protection.
Tips and Tricks
- When cutting the aluminium angle trim, make sure to use a sharp blade to ensure a clean and precise cut.
- If you're installing the trim on a curved surface, you may need to bend the trim slightly to fit the curve. You can do this by using a heat gun or by soaking the trim in hot water for a few minutes.
- Make sure to wear safety glasses and gloves when working with aluminium angle trim to protect yourself from any sharp edges or debris.
- If you're having trouble aligning the trim properly, you can use a level or a straight edge to help you.
- When applying the adhesive caulk, make sure to use a high-quality caulk that's specifically designed for use with aluminium.
Conclusion
Installing aluminium angle trim is a relatively simple and straightforward process that can greatly enhance the appearance and durability of your surfaces. By following the steps outlined in this blog post and using the right tools and materials, you can achieve a professional and long-lasting finish.
If you have any questions or need further assistance with installing aluminium angle trim, please don't hesitate to contact us. As a leading supplier of Aluminium Angle Trim, we have the expertise and experience to help you choose the right product for your specific application and to provide you with the support and guidance you need to ensure a successful installation.
We look forward to working with you and helping you transform your space with our high-quality aluminium angle trim. Contact us today to discuss your project requirements and to request a quote.
References
- "Aluminium Angle Trim Installation Guide." [Manufacturer's Name], [Year].
- "How to Install Aluminium Trim." [Website Name], [Year].
- "Tips for Installing Aluminium Angle Trim." [Magazine Name], [Year].