Installing aluminium round tubes on a wall can be a rewarding project, whether you're looking to add a decorative touch, create a functional support structure, or enhance the overall aesthetic of a space. As a leading supplier of high-quality aluminium round tubes, I'm here to guide you through the process step by step. In this blog post, I'll share valuable insights, tips, and techniques to ensure a successful installation.

Step 1: Planning and Preparation
Before you start the installation process, it's crucial to plan and prepare thoroughly. Here are some key considerations:
- Determine the Purpose: Clearly define the purpose of installing the aluminium round tubes. Are they for decorative purposes, structural support, or both? This will help you choose the right type and size of tubes.
- Measure the Wall: Accurately measure the length and height of the wall where you plan to install the tubes. This will help you determine the number of tubes needed and the spacing between them.
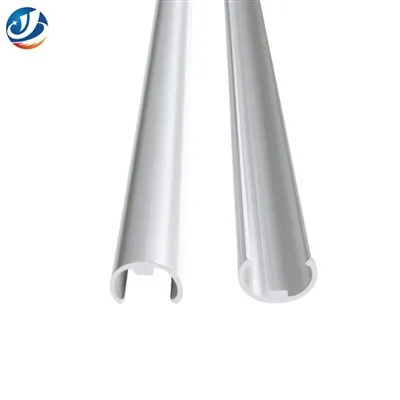
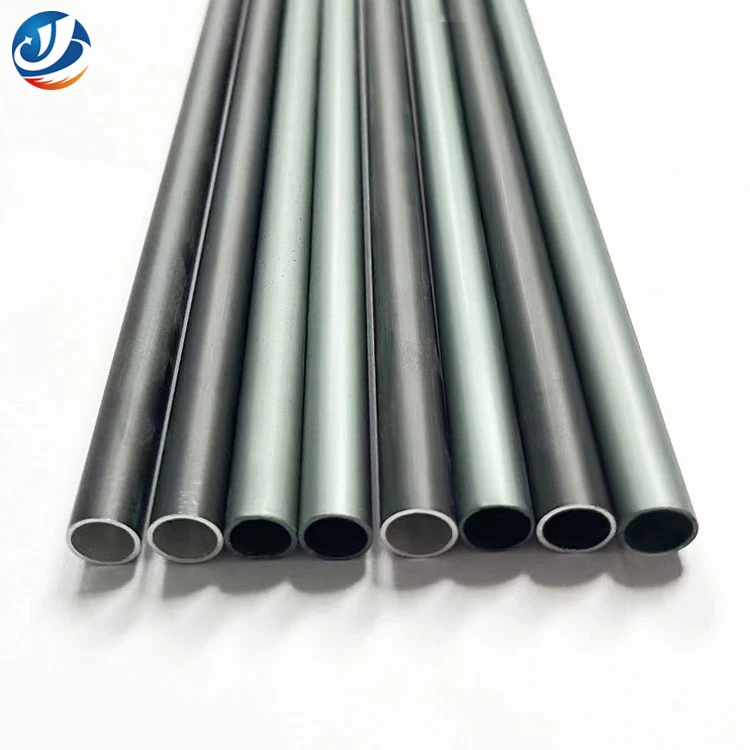
- Choose the Right Tubes: Select the appropriate aluminium round tubes based on your project requirements. Consider factors such as diameter, wall thickness, and finish. At our company, we offer a wide range of options, including Telescoping Round Aluminum Tubing, 6063 Aluminum Oxide Tube, and Aluminium Half Round Tube.
- Gather the Necessary Tools: Collect all the tools you'll need for the installation, including a drill, screws, wall anchors, a level, a measuring tape, and a saw (if you need to cut the tubes to size).
Step 2: Mark the Wall
Once you have your tubes and tools ready, it's time to mark the wall where you'll install the tubes. Here's how:
- Use a Measuring Tape: Measure and mark the desired height and spacing for the tubes on the wall. Use a level to ensure the marks are straight and even.
- Mark the Mounting Holes: If you're using wall anchors, mark the locations for the holes on the wall. Make sure the holes are evenly spaced and aligned with the marks for the tubes.
Step 3: Drill the Holes
After marking the wall, it's time to drill the holes for the wall anchors. Here's what you need to do:
- Select the Right Drill Bit: Choose a drill bit that is slightly smaller than the diameter of the wall anchors you're using.
- Drill the Holes: Carefully drill the holes at the marked locations on the wall. Make sure the holes are deep enough to accommodate the wall anchors.
- Clean the Holes: Use a brush or compressed air to remove any debris from the holes.
Step 4: Install the Wall Anchors
Once the holes are drilled, it's time to install the wall anchors. Here's how:
- Insert the Wall Anchors: Insert the wall anchors into the holes in the wall. Use a hammer to gently tap the anchors into place until they are flush with the wall.
- Check the Anchors: Make sure the wall anchors are securely installed and can support the weight of the tubes.
Step 5: Cut the Tubes (if necessary)
If the tubes you purchased are longer than the desired length, you'll need to cut them to size. Here's what you need to do:
- Measure and Mark the Tubes: Use a measuring tape to measure and mark the desired length on the tubes. Make sure the marks are straight and even.
- Cut the Tubes: Use a saw to cut the tubes at the marked locations. Make sure to wear safety goggles and gloves to protect yourself from any sharp edges.
- Smooth the Edges: Use a file or sandpaper to smooth the edges of the cut tubes. This will prevent any injuries and ensure a clean installation.
Step 6: Install the Tubes
After cutting the tubes (if necessary), it's time to install them on the wall. Here's how:
- Position the Tubes: Place the tubes against the wall at the marked locations. Make sure the tubes are level and aligned with the wall anchors.
- Attach the Tubes: Use screws to attach the tubes to the wall anchors. Make sure the screws are tightened securely to prevent the tubes from moving.
- Check the Alignment: Use a level to check the alignment of the tubes. Make any necessary adjustments to ensure the tubes are straight and even.
Step 7: Finishing Touches
Once the tubes are installed, you can add some finishing touches to enhance the appearance of your project. Here are some ideas:
- Paint or Finish the Tubes: If you want to change the color or finish of the tubes, you can paint or apply a protective coating to them. Make sure to choose a paint or finish that is suitable for aluminium.
- Add Decorative Elements: You can add decorative elements such as brackets, caps, or ornaments to the tubes to give them a more personalized look.
- Clean the Tubes: Use a clean cloth and mild detergent to clean the tubes and remove any dirt or debris.
Conclusion
Installing aluminium round tubes on a wall is a relatively straightforward process that can be completed with the right tools and techniques. By following the steps outlined in this blog post, you can ensure a successful installation and create a beautiful and functional addition to your space.
If you're interested in purchasing high-quality aluminium round tubes for your project, please don't hesitate to contact us. Our team of experts is here to help you choose the right tubes and provide you with all the information and support you need. We look forward to working with you!
References
- "Aluminium Round Tubes: A Guide to Selection and Installation." [Company Name], [Year].
- "How to Install Aluminium Tubes on a Wall." DIY Home Improvement Magazine, [Year].